Showing posts with label Meat. Show all posts

Saturday, April 1, 2017

Beef Bacon

To make bacon using beef, instead of using the beefplate for short ribs, use it for "bacon."
It is easier if you have your butcher cut the beefplate in strips the thickness you desire. I forgot this time so I am cutting it in about 1/4" strips with an electric slicer.


Take the slices or you can use the chunk of beefplate whole and later slice it. It is easier to smoke the beefplate before slicing, but your meat will have more flavor if marinated sliced.


Marinate with:
Per pound of meat
1 Tbsp Morton's Tender Quick
1 tsp brown sugar
1 tsp maple syrup

Optional add ins: liquid smoke, black pepper, smoked paprika, turmeric, granulated garlic, chili powder, etc. You determine how "spicy" you like it. This also allows you to make it gluten free.

Place your meat in a glass or plastic container. Rub your marinade mix over the meat. Cover and keep in the refrigerator. Turn daily. Slices should be ready to smoke or use as is in 5 - 7 days. Chunks take about 10 days.


Beef "bacon" will not be as crispy as pork. It works better when wrapping filets or making "Poor Man Filets" (ground meat), because it will cook similarly to the beef it has wrapped.

Friday, March 6, 2015

Roasted Chicken Broth - Pressure Canned

Oven roasted a chicken for Sunday lunch.

I then poured some more water, right into the roasting pan, in with the broth and bones. Added a splash of Apple Cider Vinegar to help leach the nutrients from the bones into the broth. And put the roaster with the lid on, on the wood stove to simmer.

After a day or so of simmering, I had a lovely rich, rich, brown broth.

The broth could simply have been frozen. But instead I chose to can it. Being low-acid it must be pressure canned. Our altitude requires some adjusting for. Your Pressure Canner's instructions will tell you how much you need to adjust for your altitude.


Jars and lids must be sterile and hot for a good seal.

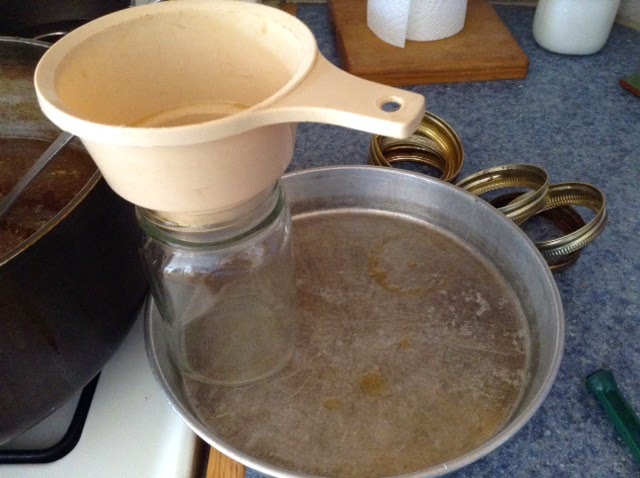
Here is a tip I learned from Grandma Ruth-put a pan under your jar to catch the drips.

Leave the proper head-space at the top of the jar. One inch.
Ladle hot broth into hot jars.

Load and then vent the canner per instructions for the particular canner you are using.

Process. Be sure to allow the pressure to fully release before opening.

Remove jars and allow them to return to room temperature. Often then need a quick wipe or wash. Label. And store in a cool, dry preferably dark room.

Friday, June 27, 2014

Brining Your Own Bacon

In an effort to control the quality of our meat a bit more. We have taken to buy some pork, brining it, then having my dad smoke it for bacon. We like to use boneless rib meat for bacon slices-rashers. Loin will give you more of a Canadian Bacon end product. Loin also needs to be in the brine longer because of the thickness of the cut.

Per 1 pound of meat

Mix:
1 Tbsp Tenderquick
1 tsp packed brown sugar
1 tsp maple syrup (the real stuff)
Granulated Garlic to taste-I use about 1 tsp per 6 lbs meat
Coarsely ground Black Pepper

Rubbing brine mix on pork pieces.

Mix the above in your brine container. Your container needs to be glass or plastic and to have a lid.
Rub your mix onto your meat. Layer meat into your container. Place lid on. Put container in refrigerator. Turn meat pieces daily.

Pieces on left next mix rubbed on. Pieces on right already rubbed.

Age about 10 days. This will depend on the thickness of your meat cuts. I did 10 days for the above-boneless pork rib meat. It is better to go a little longer than to have too little time in the brine.

Don't forget to label.
Rinse before smoke-curing.