 |
| Cheddar Curds on a lunch salad. |
Showing posts with label Dairy. Show all posts
Showing posts with label Dairy. Show all posts
Thursday, June 19, 2014
Cheddar Curds
Thursday, February 20, 2014
Free Books to Help with Traditional Cultured Foods
Need some help learning about traditional cultured foods? Cultures for Health has several free books (down-loads) available.

They walk you through ingredients, safety, basic steps, and include many recipes.
I think the Kefir "Book" was the first I received. I enjoy the Kefir ice cream recipe! It includes dairy and water kefir recipes.

Other books, I've received are: Cheesemaking, Kombucha, Lacto-Fermentation, Sourdough, and Yogurt. I choose to print the books out and keep them in a large Three-ring binder.
To receive these wonderful resources go to the bottom of Cultures for Health's home page and sign-up. They are free and there is also a free newsletter. An easy and free resource to improve your health!
They walk you through ingredients, safety, basic steps, and include many recipes.
I think the Kefir "Book" was the first I received. I enjoy the Kefir ice cream recipe! It includes dairy and water kefir recipes.
Other books, I've received are: Cheesemaking, Kombucha, Lacto-Fermentation, Sourdough, and Yogurt. I choose to print the books out and keep them in a large Three-ring binder.
To receive these wonderful resources go to the bottom of Cultures for Health's home page and sign-up. They are free and there is also a free newsletter. An easy and free resource to improve your health!
Tuesday, October 22, 2013
Greek Yogurt or Yogurt Cheese
Greek Yogurt seems to be all the rage lately.
I've been making a gallon of yogurt a week and turning it into Greek Yogurt.
Simply drain your plain yogurt (to make your own yogurt go here) in a cheesecloth bag or better yet use a nylon paint filter bag.
These bags are a breeze to wash out!
I bought mine at Home Depot.
 |
| Yogurt dripping in a 1 gallon nylon paint filter bag. |
Thursday, March 28, 2013
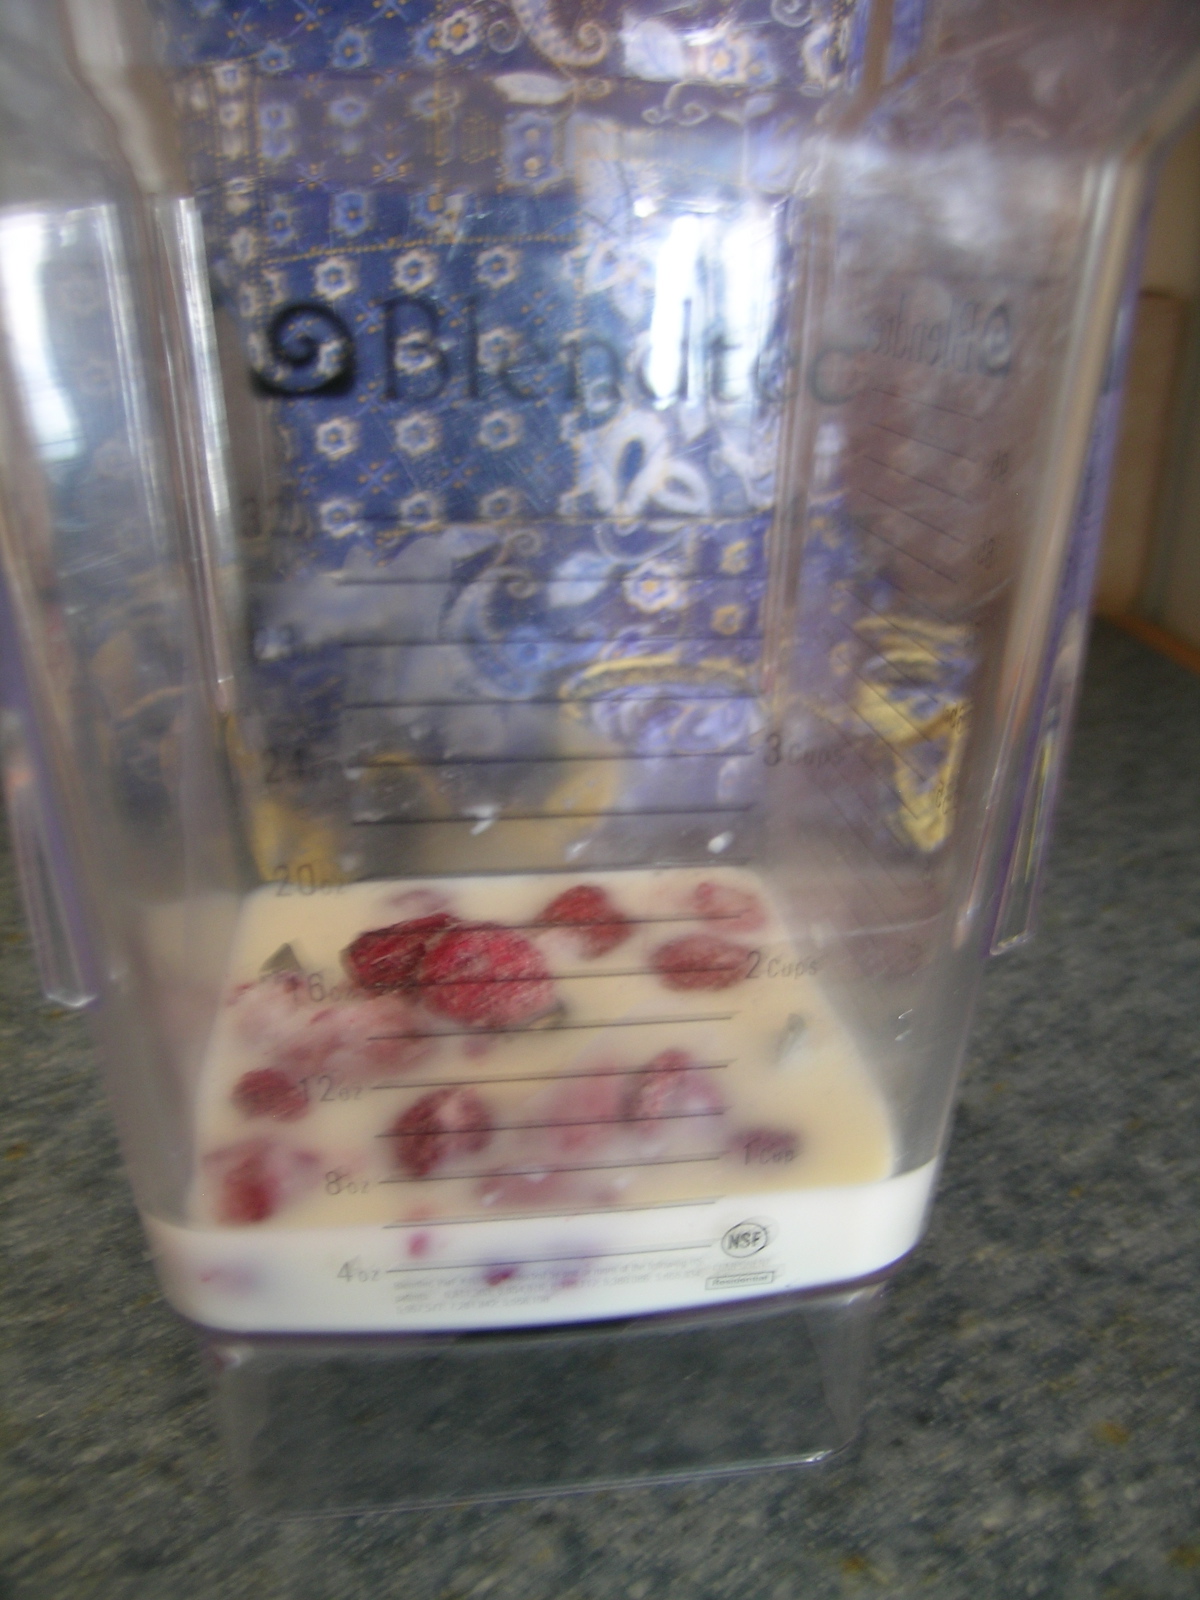
Flavored Milk Kefir
I've been making my own kefir the last few weeks. Then adding some fruit and sweetener to flavor.
To every cup of kefir I add a handful of frozen fruit and 1/2-1 teaspoon of sweetener-honey, sugar. Stevia does not need as much. Sometimes for more intense flavor I add a spoon of frozen 100% fruit juice concentrate.

Blend.
Delish.
To every cup of kefir I add a handful of frozen fruit and 1/2-1 teaspoon of sweetener-honey, sugar. Stevia does not need as much. Sometimes for more intense flavor I add a spoon of frozen 100% fruit juice concentrate.
Blend.
Delish.
Friday, March 1, 2013
Real Food Learning-GNOWFGLINS
I've been learning all kinds of interesting information over at GNOWFGLINS from Wardee.To join in follow my link If five friends sign-up, I'll receive a free video!
Monday, October 29, 2012
Vanilla Ricotta Pie
This is nice for breakfast or brunch. Plan to make it ahead as it needs to cool and then sit in the refrigerator at least overnight. Plan to double it for 12 to 14 servings and cook it in a large spring-form pan.

Oven 350°F
Crust:
Mix in medium bowl:
1 1/4 cup flour
1/2 tsp baking powder
1/8 tsp salt
2 Tbsp sugar
Cut in 1/4 cup cold unsalted butter
Mix together in a measuring cup with spout:
1 slightly beaten egg
2 Tbsp whole milk
1/4 tsp vanilla
Stir into flour mixture. Work dough into a smooth ball. Roll out to about 1/8" thick between two sheets of wax paper or parchment paper. Fit into a small spring-form pan or a 8"-9" layer cake pan. Place in refrigerator to chill while mixing filling.
Filling:
With electric mixer or egg beater mix until smooth and creamy:
3 eggs, beaten
3/4 cup sugar
1/4 tsp salt
1 lb ricotta cheese-if using whey ricotta I add about 1 Tbsp cream also
1 Tbsp vanilla
Ladle filling into pan. Bake for almost 60 minutes. (If doubling it will take about 10 minutes longer.) Filling should be firm on the edges and pliant in the center. Completely cool on rack at room temperature. Center of pie will sink slightly. Refrigerate at least 8 hours before serving. Serves 6-8.
Wednesday, October 12, 2011
Frozen Strawberry Pie
Ready for a taste of early summer?

Ingredients:
Baked pie crust
2 Tablespoons honey
3/4-1 cup yogurt cheese
2 Tablespoons heavy whipping cream
1 cup sour cream
8 cups drained, diced, frozen strawberries, thawed
Mix in electric mixer. Use as high a speed as possible:
2 Tablespoons honey
3/4-1 cup yogurt cheese
2 Tablespoons heavy whipping cream
Fold in about 1 cup sour cream
When well mixed fold in the drained, diced frozen strawberries, thawed reserving a few pieces to decorate top of pie.
Fill baked pie crust with filling. Decorate with reserved strawberry pieces.
Freeze at least 3-4 hours before serving.
If the pie becomes very hard let sit out for about 15 minutes before serving.
Friday, June 25, 2010
Buttermilk
It is very simple to keep a supply of buttermilk going.
To begin you need some buttermilk-just a small amount will do. About 1/2 cup will culture a quart of milk.

Pour your buttermilk into a sterile glass jar. I use old mayonnaise jars or canning jars with plastic lids. Add milk to fill about 1" from top. If you want your buttermilk extra thick or are using non-fat milk I would suggest adding a tablespoon or two of heavy cream in with your milk.

Swirl the jar to mix. Let jar set out at room temperature for 12- 24 hours. Time will depend partially on room temperature. Once cultured keep in the refrigerator until ready to use.

Your buttermilk should thicken and smell cultured. It may even have some whey separation. If it smells bad your milk probably had antibiotics in it and it is only good for fertilizing the yard.
When you use at least half your jar add milk and let it culture.
To begin you need some buttermilk-just a small amount will do. About 1/2 cup will culture a quart of milk.

Pour your buttermilk into a sterile glass jar. I use old mayonnaise jars or canning jars with plastic lids. Add milk to fill about 1" from top. If you want your buttermilk extra thick or are using non-fat milk I would suggest adding a tablespoon or two of heavy cream in with your milk.
Swirl the jar to mix. Let jar set out at room temperature for 12- 24 hours. Time will depend partially on room temperature. Once cultured keep in the refrigerator until ready to use.

Your buttermilk should thicken and smell cultured. It may even have some whey separation. If it smells bad your milk probably had antibiotics in it and it is only good for fertilizing the yard.
When you use at least half your jar add milk and let it culture.
Wednesday, June 9, 2010
Making Yogurt at Home without a Yogurt Maker
Equipment needed:
Non-reactionary pan-stainless or an unchipped enamel work
plastic spoon
Thermometer with a range of 118 to 180 degrees F.
Clean glass jars with clean lids.
Incubator: dehydrators will work, small insulated freezer chests, some ovens. You need to maintain a 120 degree F temperature for at least 4 hours. I use a insulated lunch size freezer bag with plastic insert for sides we picked up one-time on a trip to take lunches with us to meetings. The zipper has since broken, so I cover it with a towel to keep the heat in.
Ingredients needed:
milk
cream
fresh plain yogurt-may be store bought or from a previous batch, set-out to warm slightly while heating milk
Put your pan on the stove. I use a 1 qt enameled pan. I make 1 - 2 pints at a time. Attach your thermometer so it does not touch the bottom. The tip should be about 1" above the bottom.
Fill your clean jar with milk and cream to about 1 - 1 1/2" from top. Pour milk into pan. (The more cream you add the thicker & richer your yogurt will be. It is optional.) Heat on low.

While milk is heating rinse jar until clean. If using a insulated freezer chest: fill jar and chest 1/2 way up jar with very hot water. Cover to keep warm. If using oven or dehydrator heat to 120 degrees F.

Do not stir milk. Just monitor the temperature. You want it to go to at lest 180 degrees. The higher the temperature the stronger your yogurt will taste and the more damage you do to the milk. Be careful to not let the milk foam up. It happens quickly and is a mess.
When the milk reaches 180 degrees F. Turn off burner. Let milk cool to 118 degrees F. At about 120 degrees I take my jar out of the water and dry it well.
When milk reaches 118 degrees F. stir in at least 2 Tablespoons of plain yogurt with plastic spoon.

You want to add enough to fill your jar but not overflow it.


Cover with clean lid. Place jar in incubator.


Let incubate at maintained 120 degrees F temperature for 4 hours. Test. If not set, continue in incubator and check every half-hour. If set immediately place in refrigerator. Let it rest in refrigerator a day before using.
Best to make a new batch within 5 days.
Thursday, May 13, 2010
Whipped Butter
Have you ever felt like you needed an axe to cut the iced butter in a buffet line? Or found it impossible to spread the butter on your room temperature roll?
I have found that by whipping my butter in my mixer it becomes more spreadable and people use less when going through the buffet line or even when it is put out on tables at a big dinner.
Most of the time I just put a pound of room temperature salted butter in the mixer with the wire whip attachment. I gradually increase the speed until the butter is nice and fluffy. You can also add a little cream or another healthy oil if you like.
After whipping I scoop the butter out with a flexible rubber spatula into a covered bowl and place it in the refrigerator to chill. This can be done a week or two before an event. Just have a tight cover on your butter to protect it from gaining smells and flavors.

To serve, I like to scoop the cold whipped butter with a melon ball scoop onto a pretty plate or dish. These I get out of the refrigerator in time to warm slightly before we eat, but not to the melting stage. It is easy for people to get a little scoop with the butter knife on the dish.
Monday, January 11, 2010
Yogurt Cheese Dip for Veggies (Also How to make Yogurt Cheese)

Based off a recipe of Sue Gregg’s
In large mixer bowl, mix:
Yogurt Cheese**
Cheddar Cheese, shredded–approximately same amount as Yogurt Cheese
Parsley Flakes, about 1/2 tsp per 2 cups of Cheeses
Garlic powder, about 1/2 tsp per 2 cups of Cheeses
While mixing sprinkle in some Worcestershire sauce, until dip is pale orange in color. Keep refrigerated. Also good spread on crackers.
** How to Make Yogurt Cheese
Place plain yogurt (about twice the amount of cheese you need for recipe) in center of square of doubled cheesecloth. Pull corners of cheesecloth to center and up to form a bag. Tie heavy thread or string around bag and hang above a bowl from cabinet knob. Allow whey to drip for about 24 hours. Don’t throw the whey away! Whey is good for fertilizer, baking-use as part of your moisture for yeast breads, and pre-soaking grains.
Subscribe to:
Posts (Atom)